Visual Editor
Use Sumatra's universal Visual Editor to create web experiences with a WYSIWYG workflow and apply overrides without touching your site's code.
While Visual Editor experiences will work on Framer sites, native Framer experiences are preferred. They provide more flexibility and allow above-the-fold variants without the anti-flicker snippet.
Edit variant
To create a Visual Editor experience, click Edit under the variant name in the Experiences view:

Navigation
Toggle between the Edit and Navigate tabs to select the editor's mode.
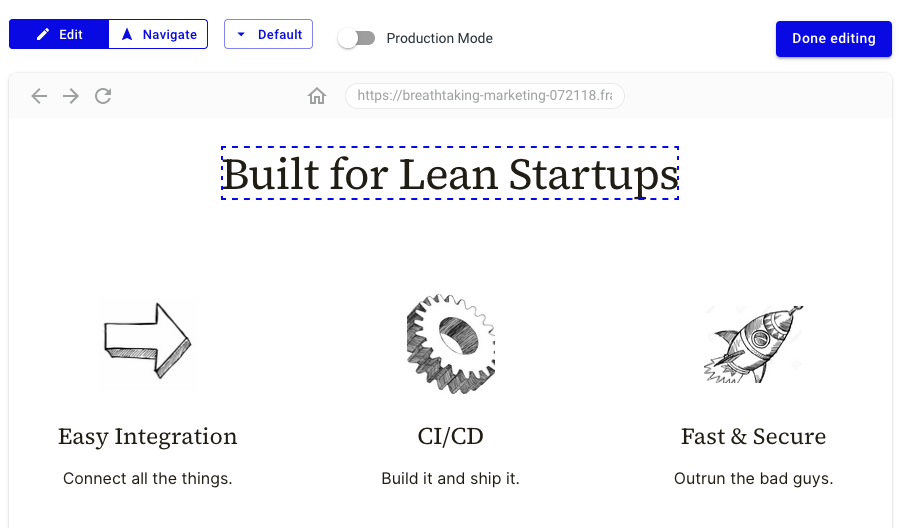
In Navigate mode, link and button clicks behave like a typical web browser. You may also use the home icon, browser bar, and forward/back arrows to navigate to the desired page.
In Edit mode, clicking on an element selects it to attach an override. The selected element is displayed with a dashed outline.
Override Types
After selecting an element to modify, choose an override type from the menu.
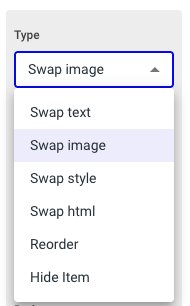
Swap text
The Swap text override changes only the text of the element, leaving the styling unchanged.
Swap image
Apply the Swap image override to an image element to replace its URL with the URL of a different image, hosted on your own server or by a third party.
Swap style
The Swap style override fetches the element's current style and allows you to modify or add CSS properties.
Swap html
The Swap html override fetches the element's current html and allows you to modify or replace the tag.
This override allows for ultimate flexibility, adding HTML, CSS, and JavaScript code at will to achieve the desired experience.
Reorder
Apply the Reorder override to change which elements of a group show up, and in what order. Specify a list of indices, from 1 to N.
You select a <div> with 4 child elements.
To display the children in reverse order, set the order to: [4, 3, 2, 1]
To hide the second child, set the order to: [1, 3, 4]
Hide item
The Hide item override makes the element invisible while still occupying space on the page.
To remove an element entirely, including the space it occupies, choose Swap style instead and set display: none;
Advanced settings
Expand the Advanced menu to access manual settings.
Path
Alter Path to change the applicable page, e.g. /pricing, for the element.
XPath
Alter XPath to set the element selector manually if, for some reason, the element cannot be selected correctly by clicking on it in the visual editor.