Quickstart
This guide will walk you through how to set up Sumatra and publish your first Experience to your site.
1. Log into Sumatra
If you don't yet have one, get a free trial account at: https://sumatra.ai/signup
Access the app at: https://optimize.sumatra.ai
2. Add the URL of your site
When prompted, enter your site's base URL and click Start optimizing.

3. Install the snippet
If your site is built on Framer, choose the Framer tab. For all other platforms, choose the Other Website tab.
- Framer
- Other Website
To install the Sumatra snippet and code override on your Framer site, follow these instructions.
Follow the general instructions to install the Sumatra snippet on your site.
Optionally, if your first test with be "above the fold" or a page redirect, add the anti-flicker snippet.
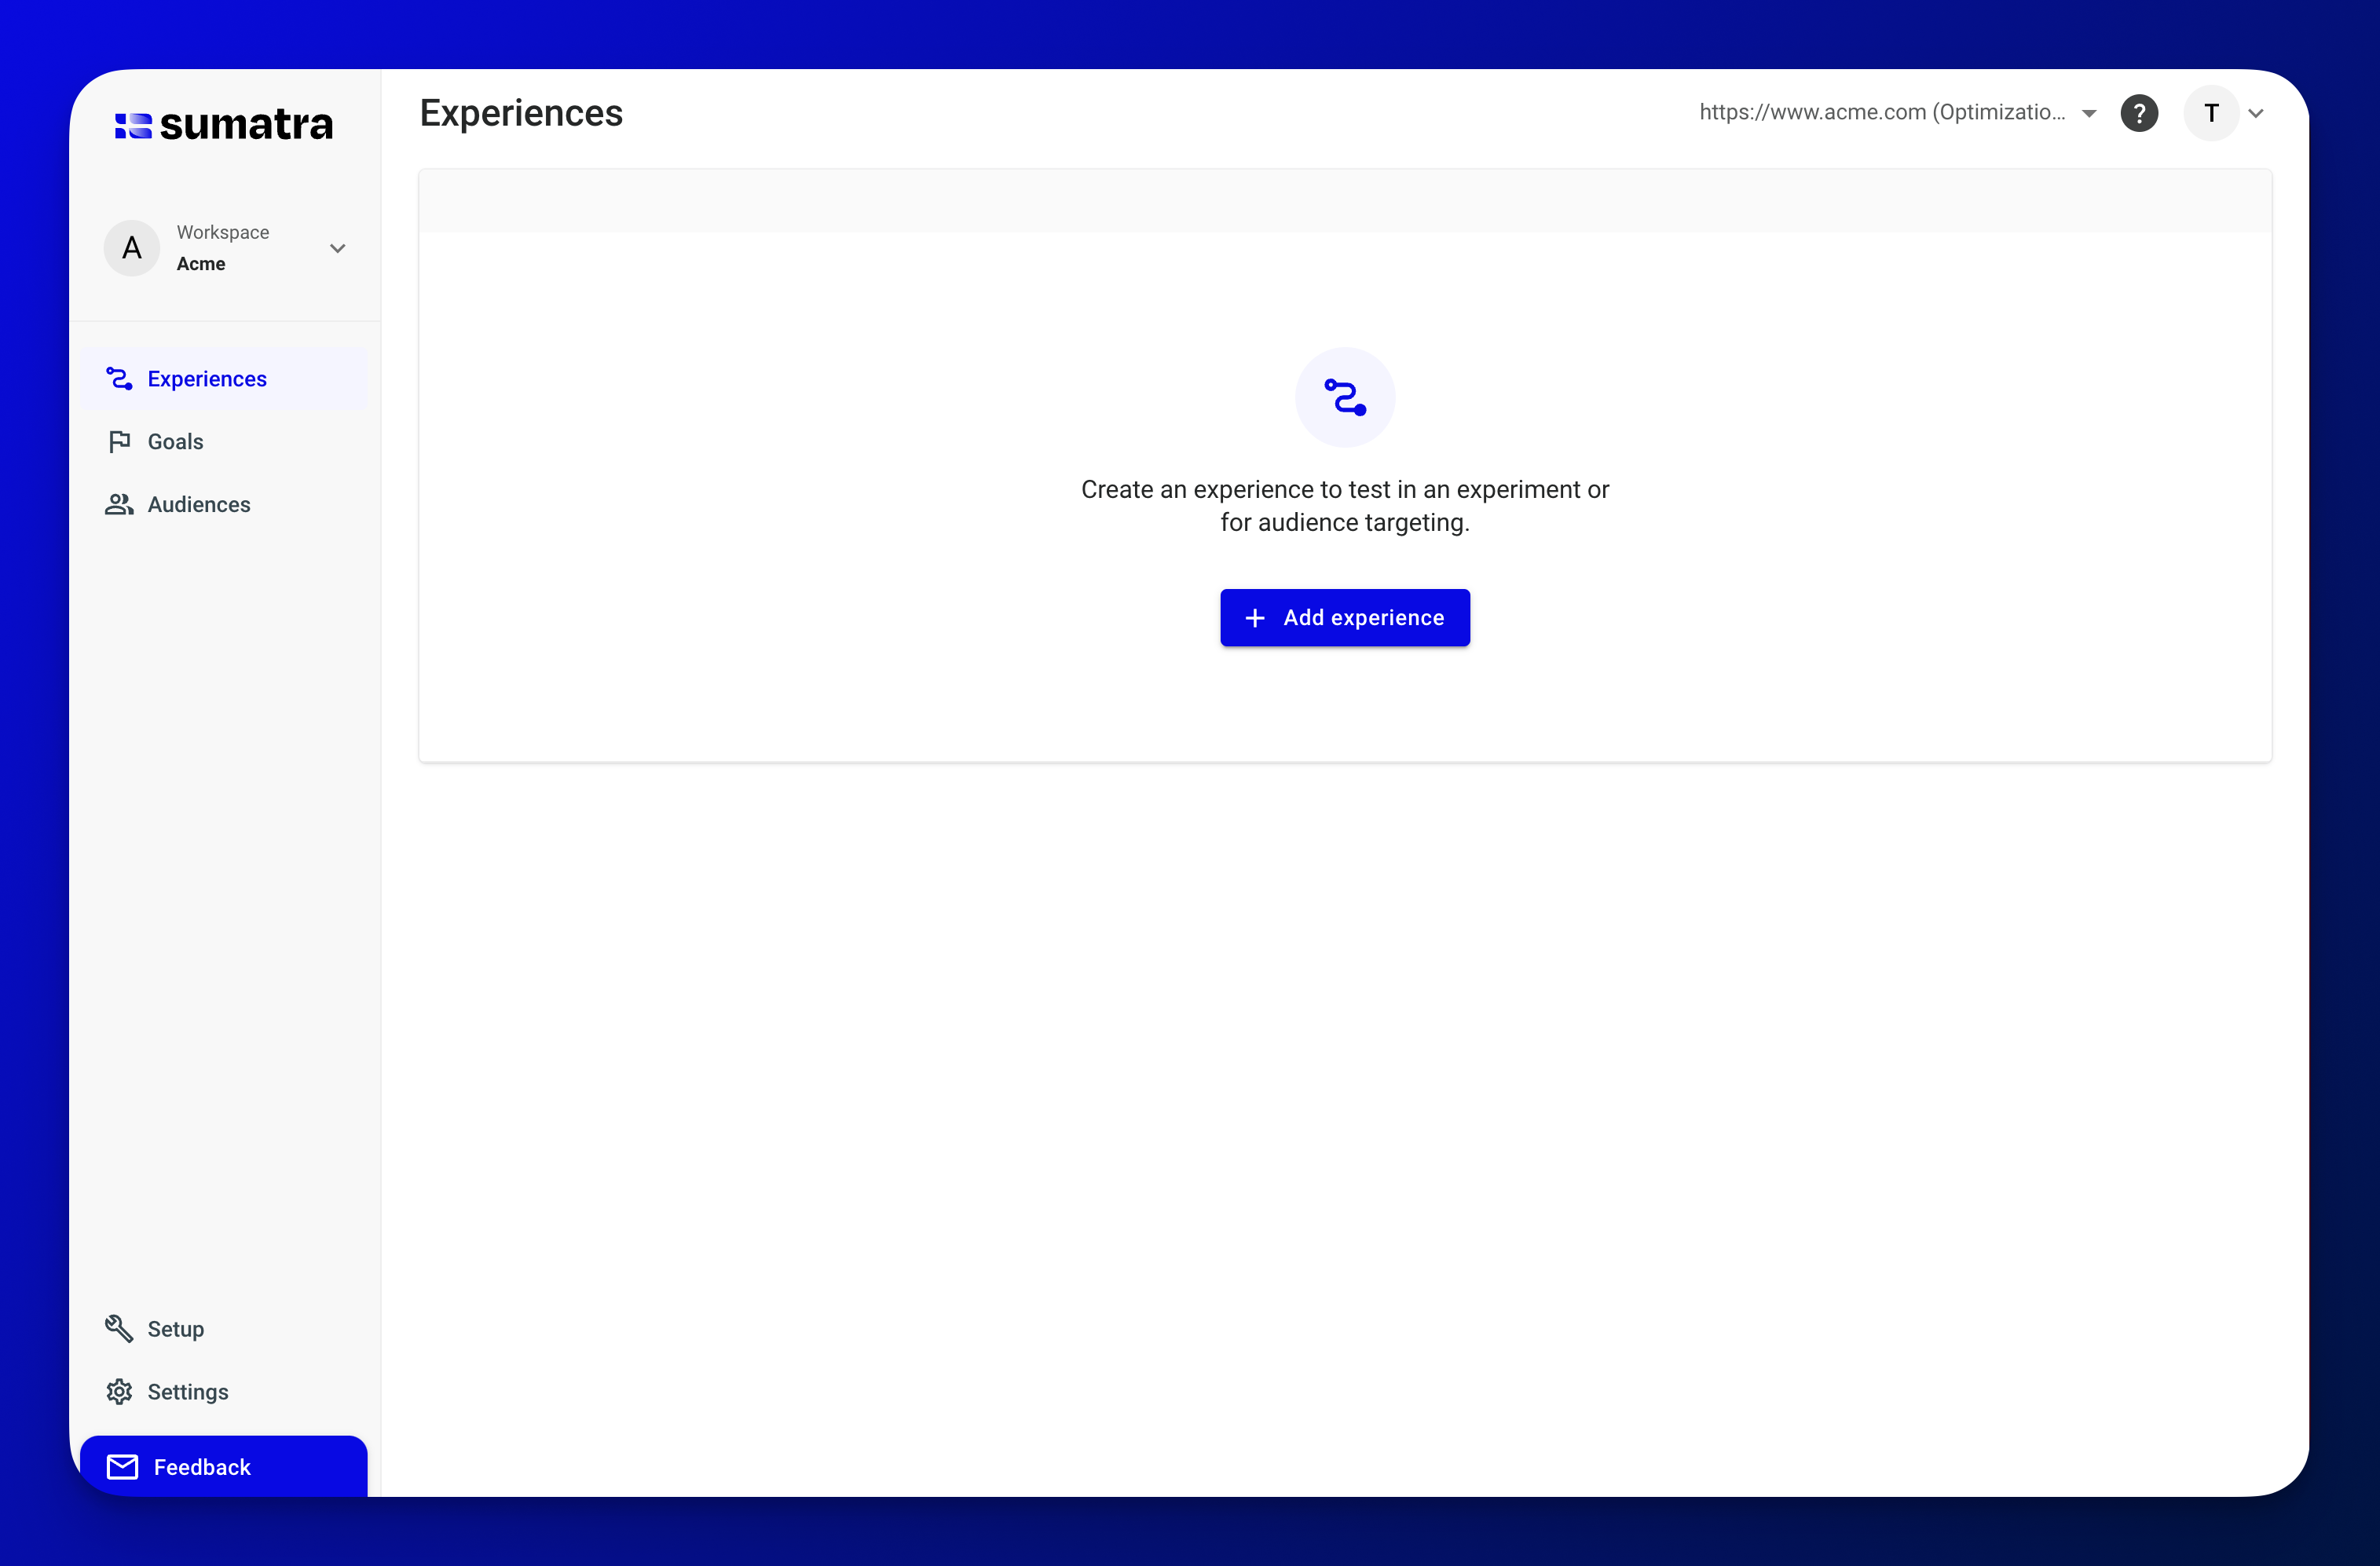
4. Create your first experience
To start simple, let's change the text of a single call-to-action (CTA) button.
On the Experiences tab, click + Add experience.
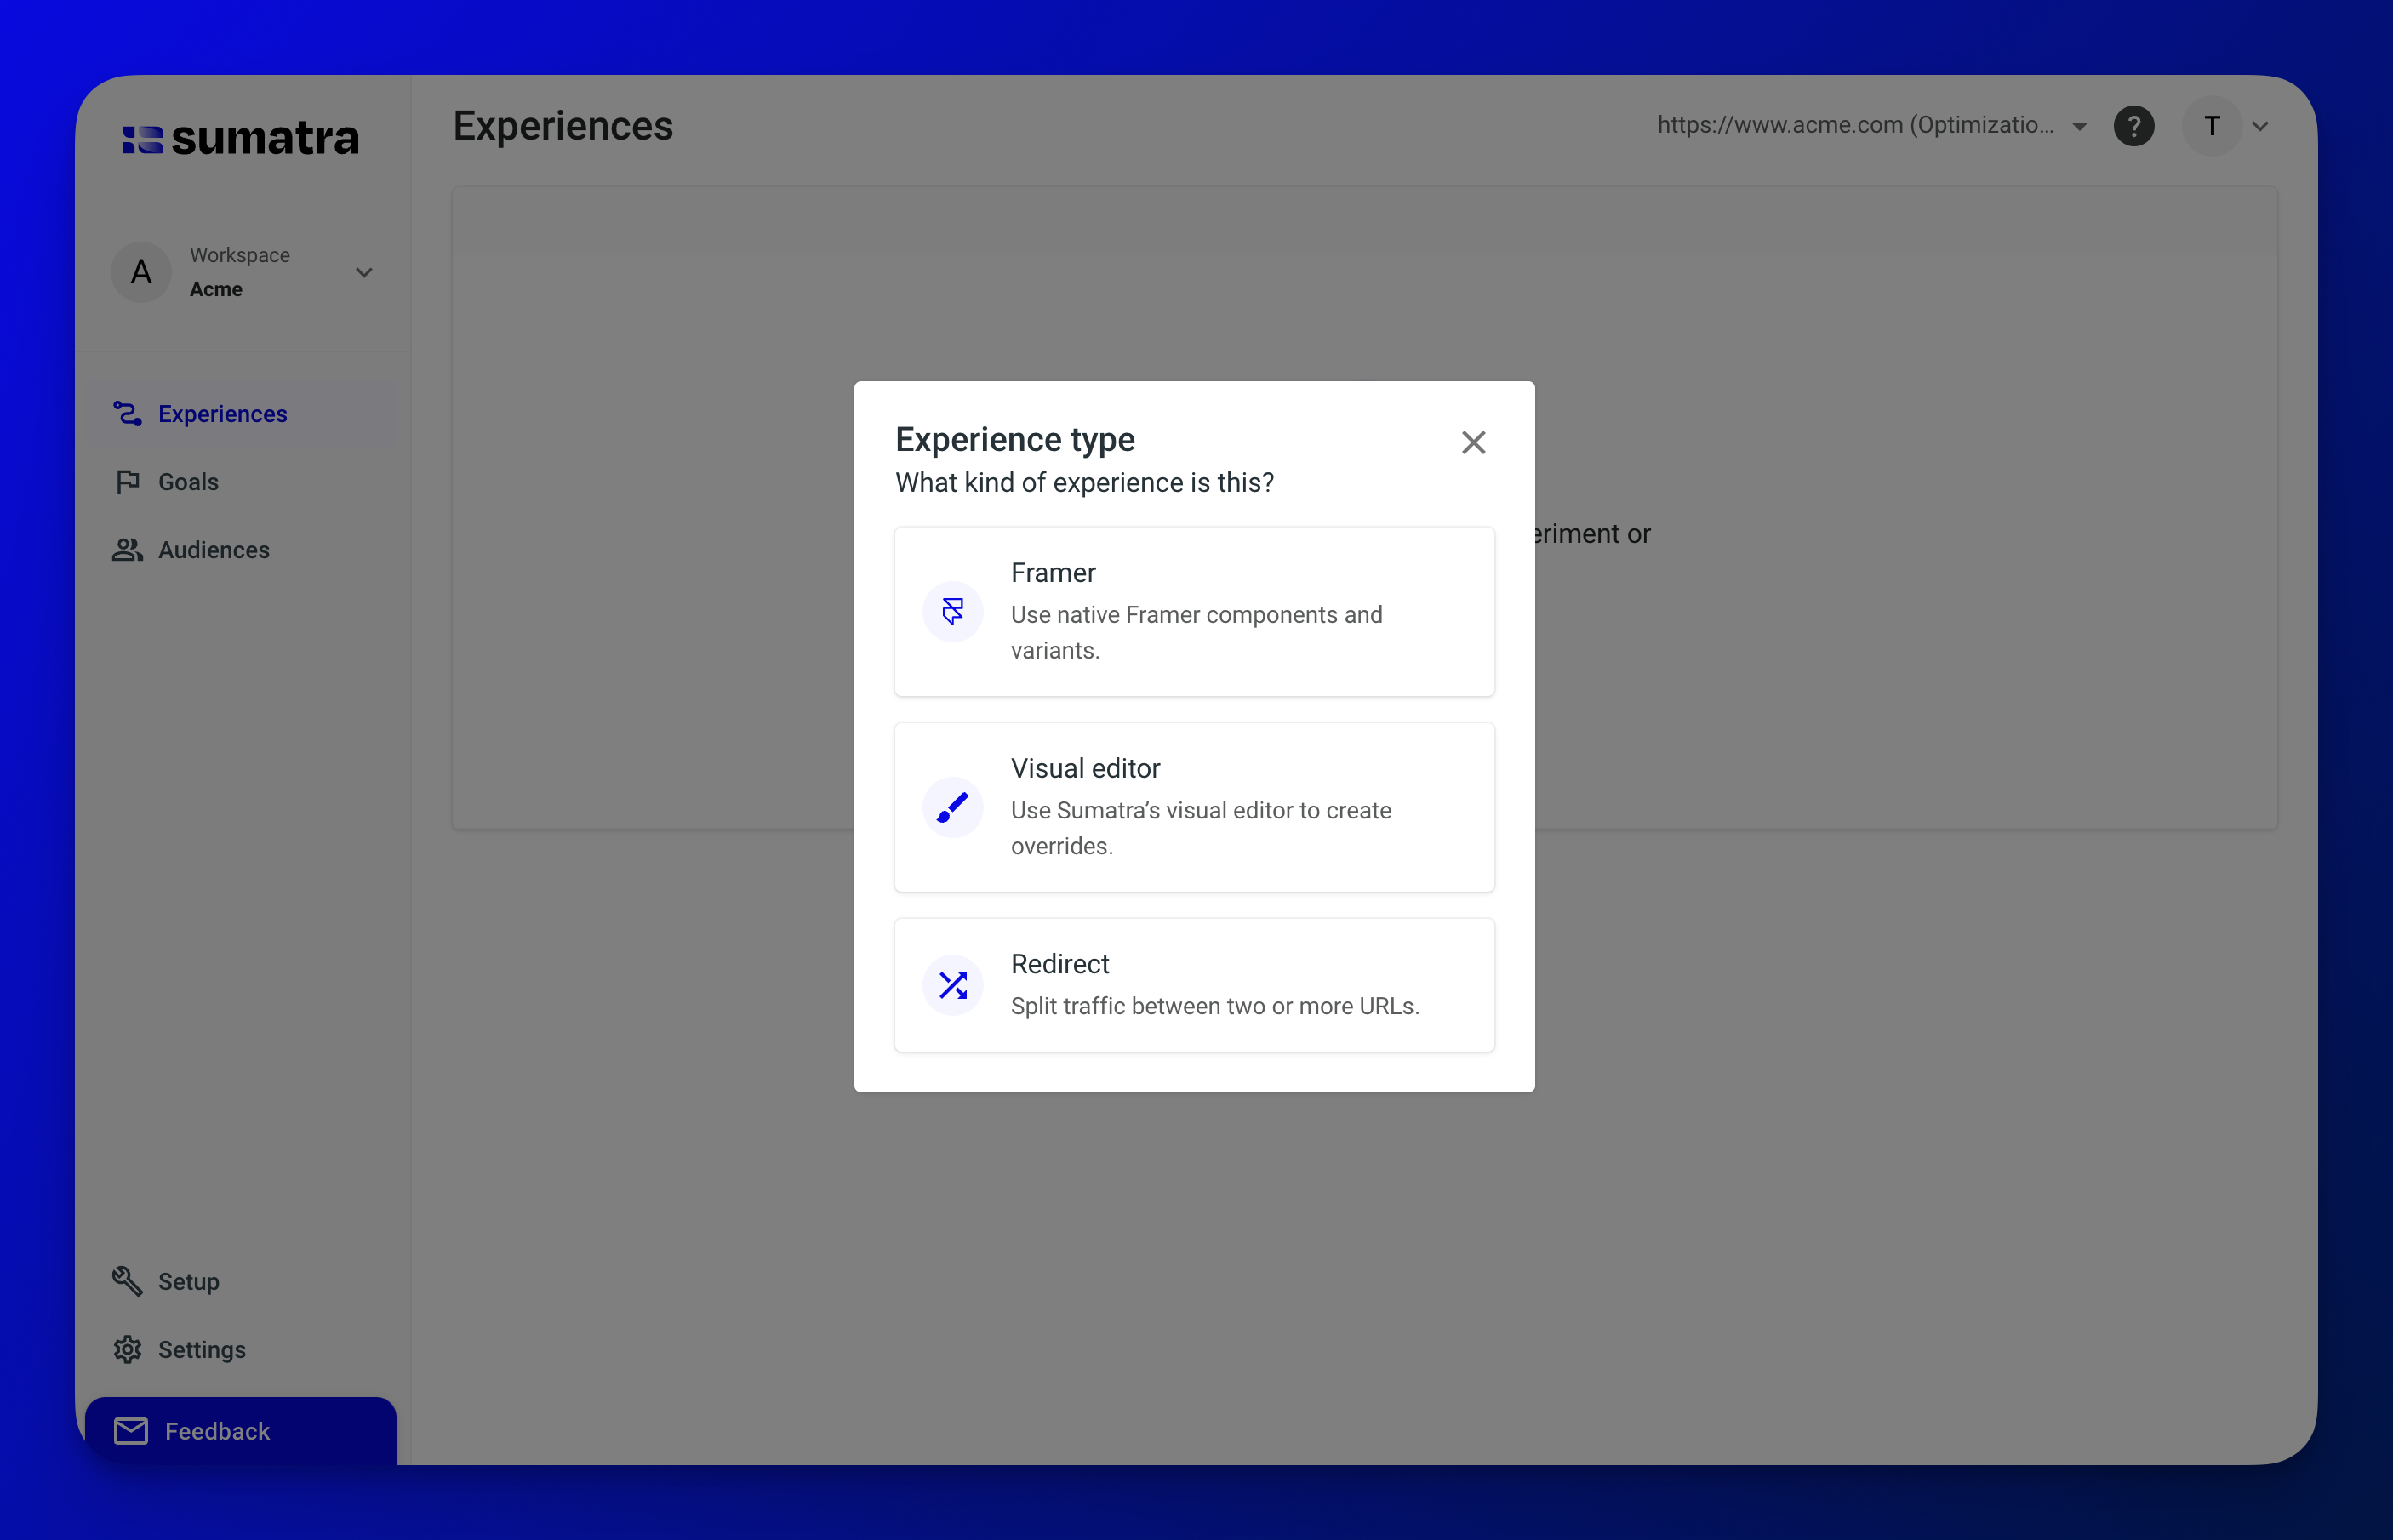
Then select the experience type that best matches how you want to create your test.
Don't worry, all functions are available regardless of the primary type you choose.
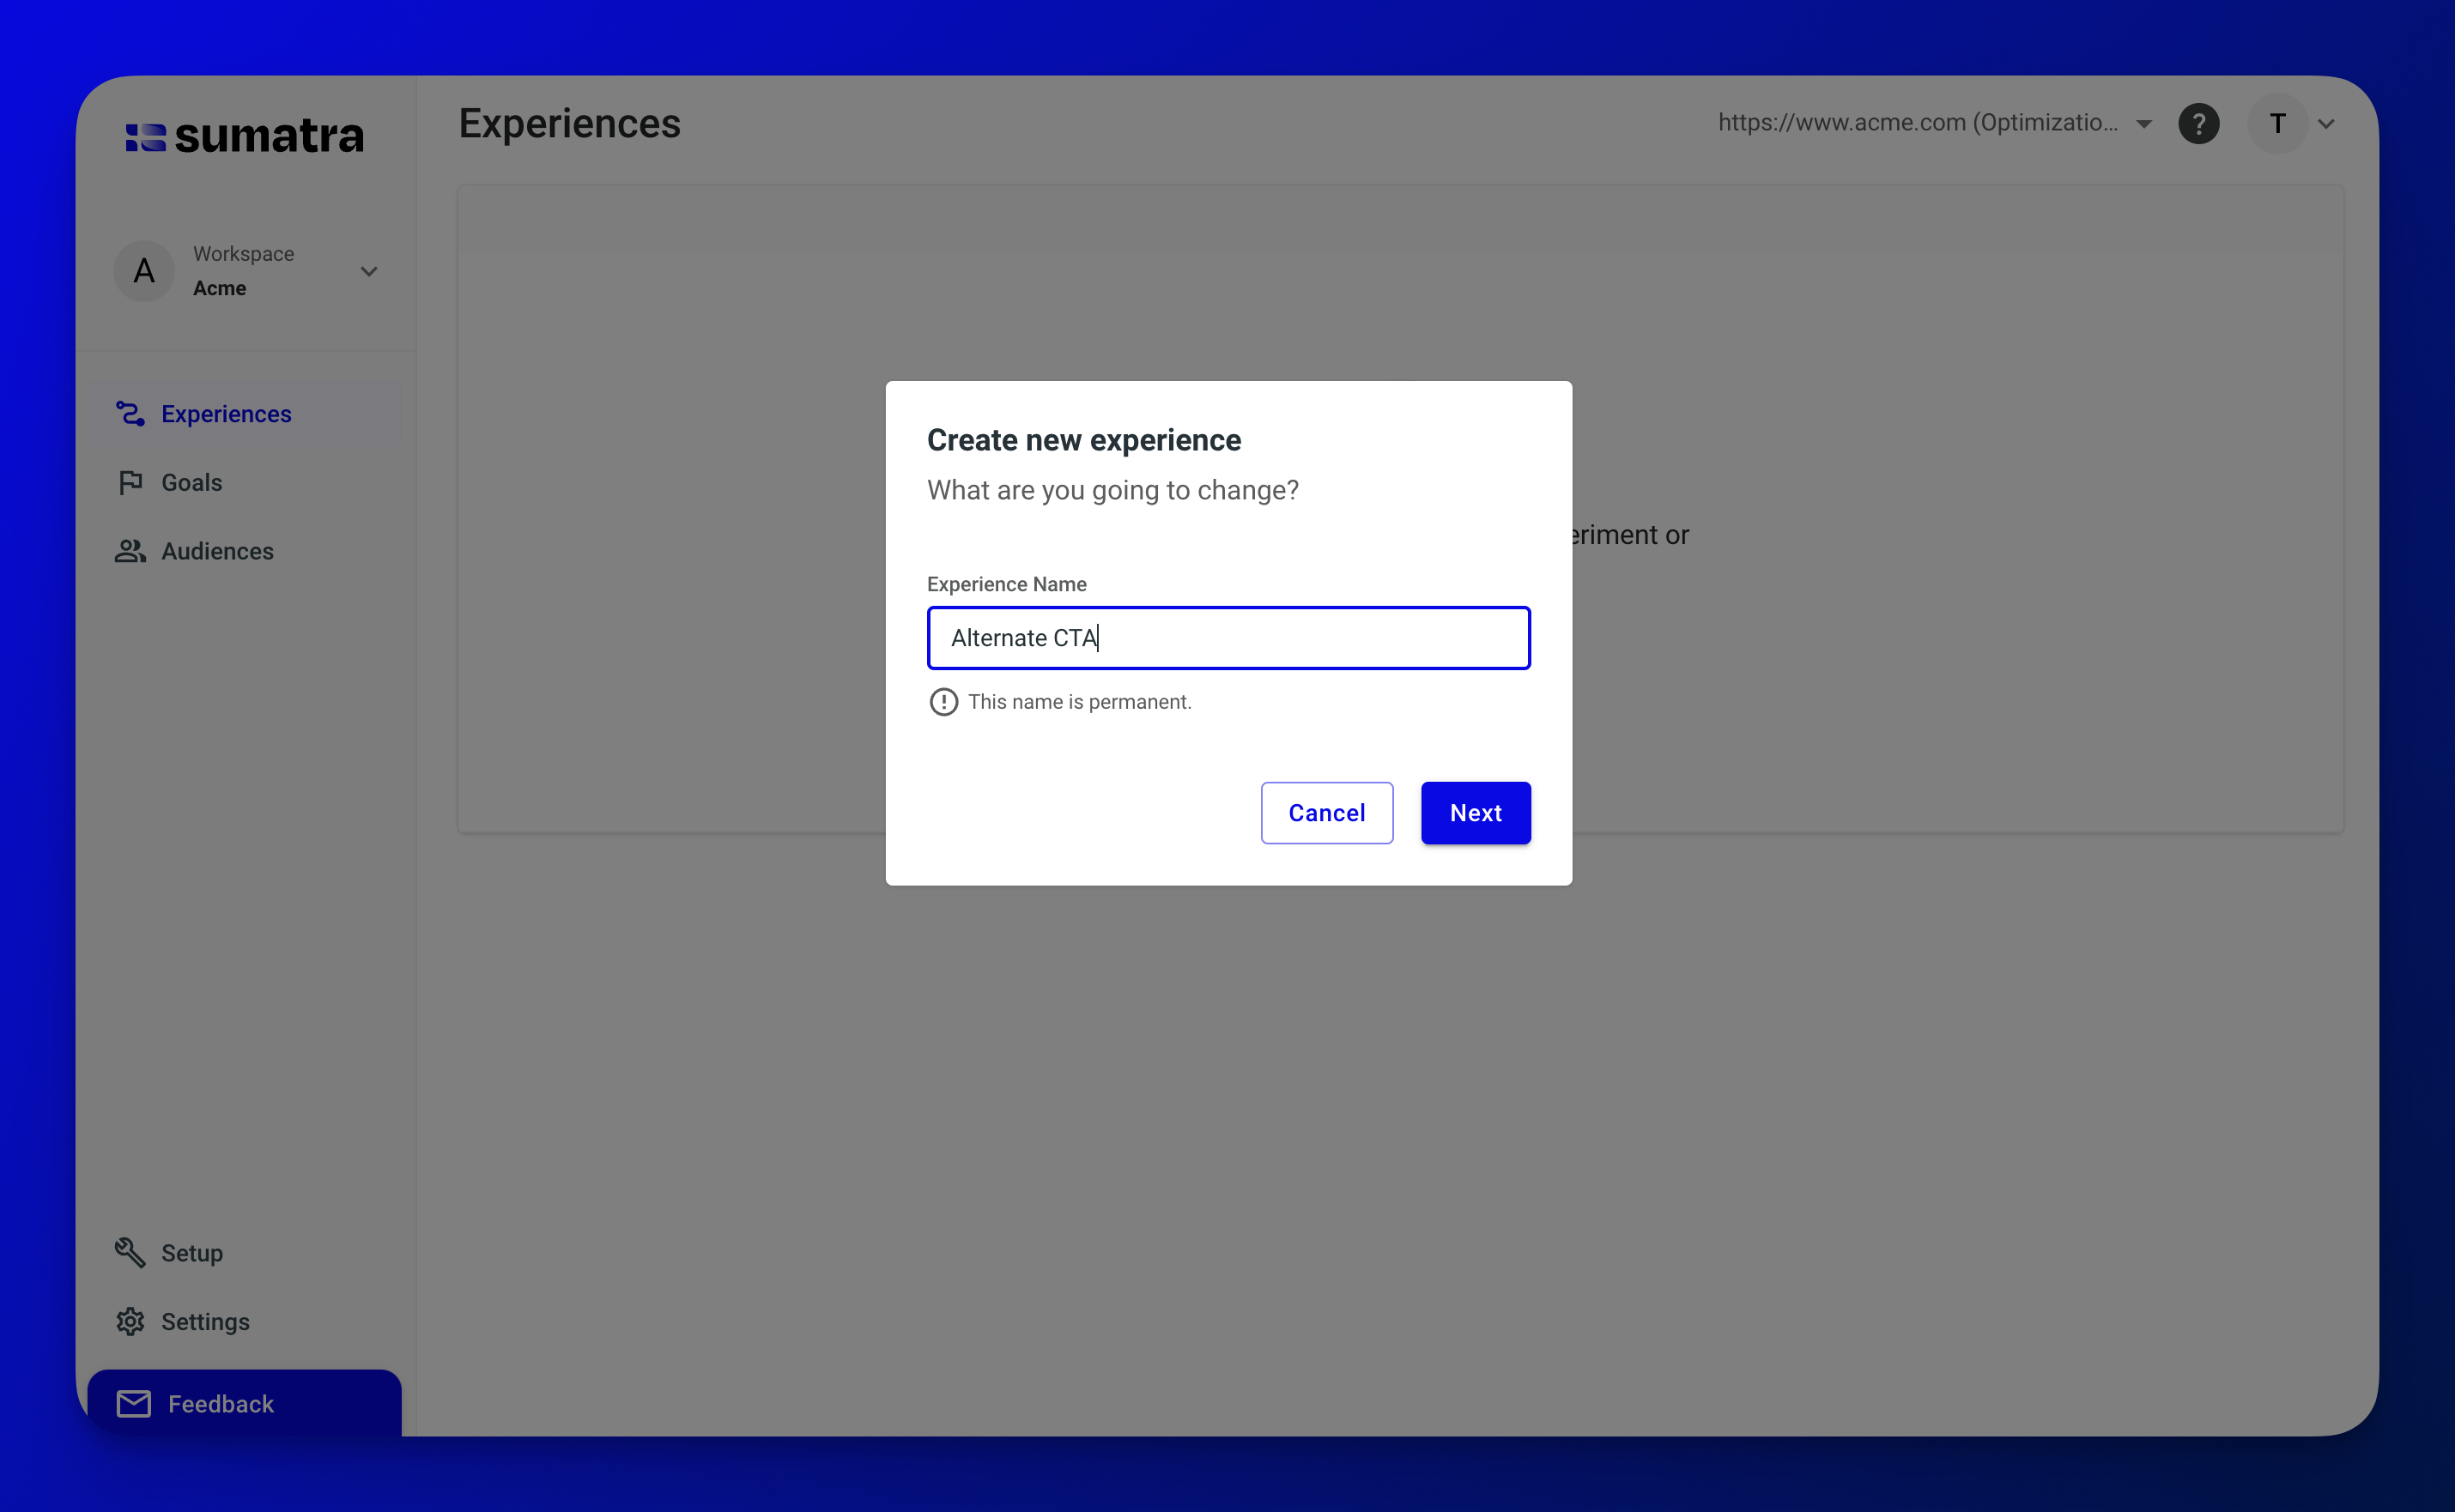
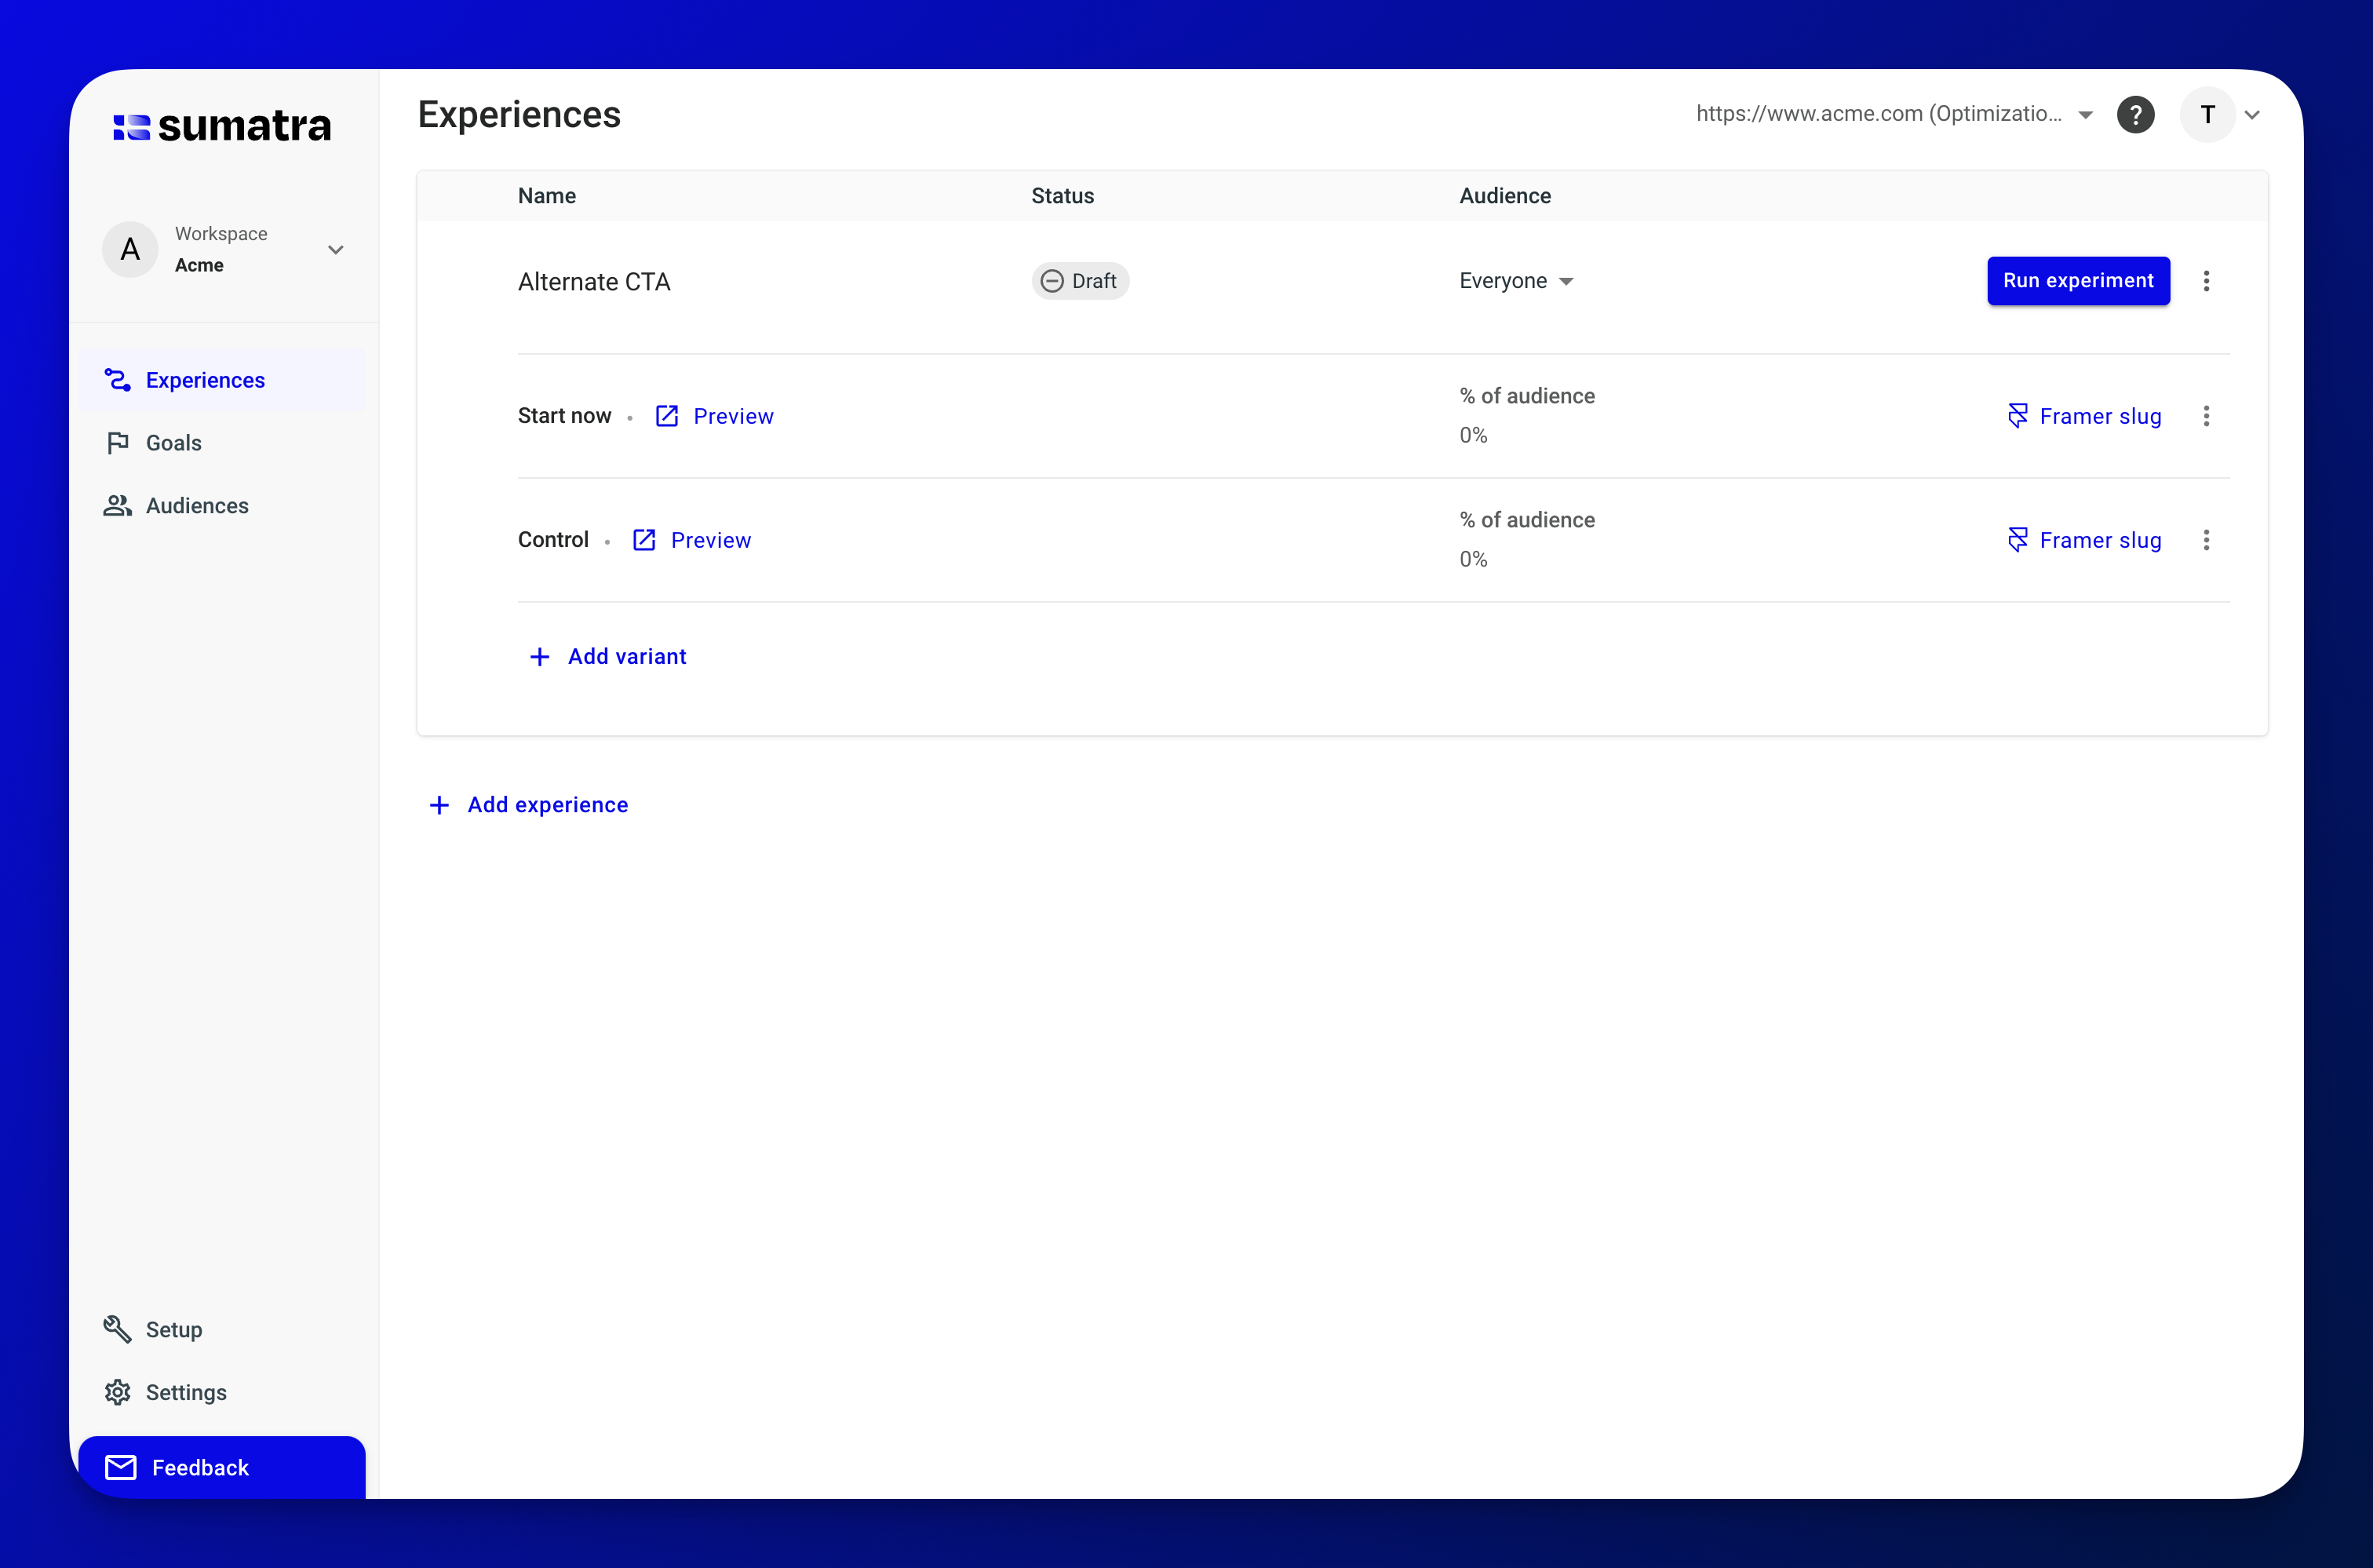
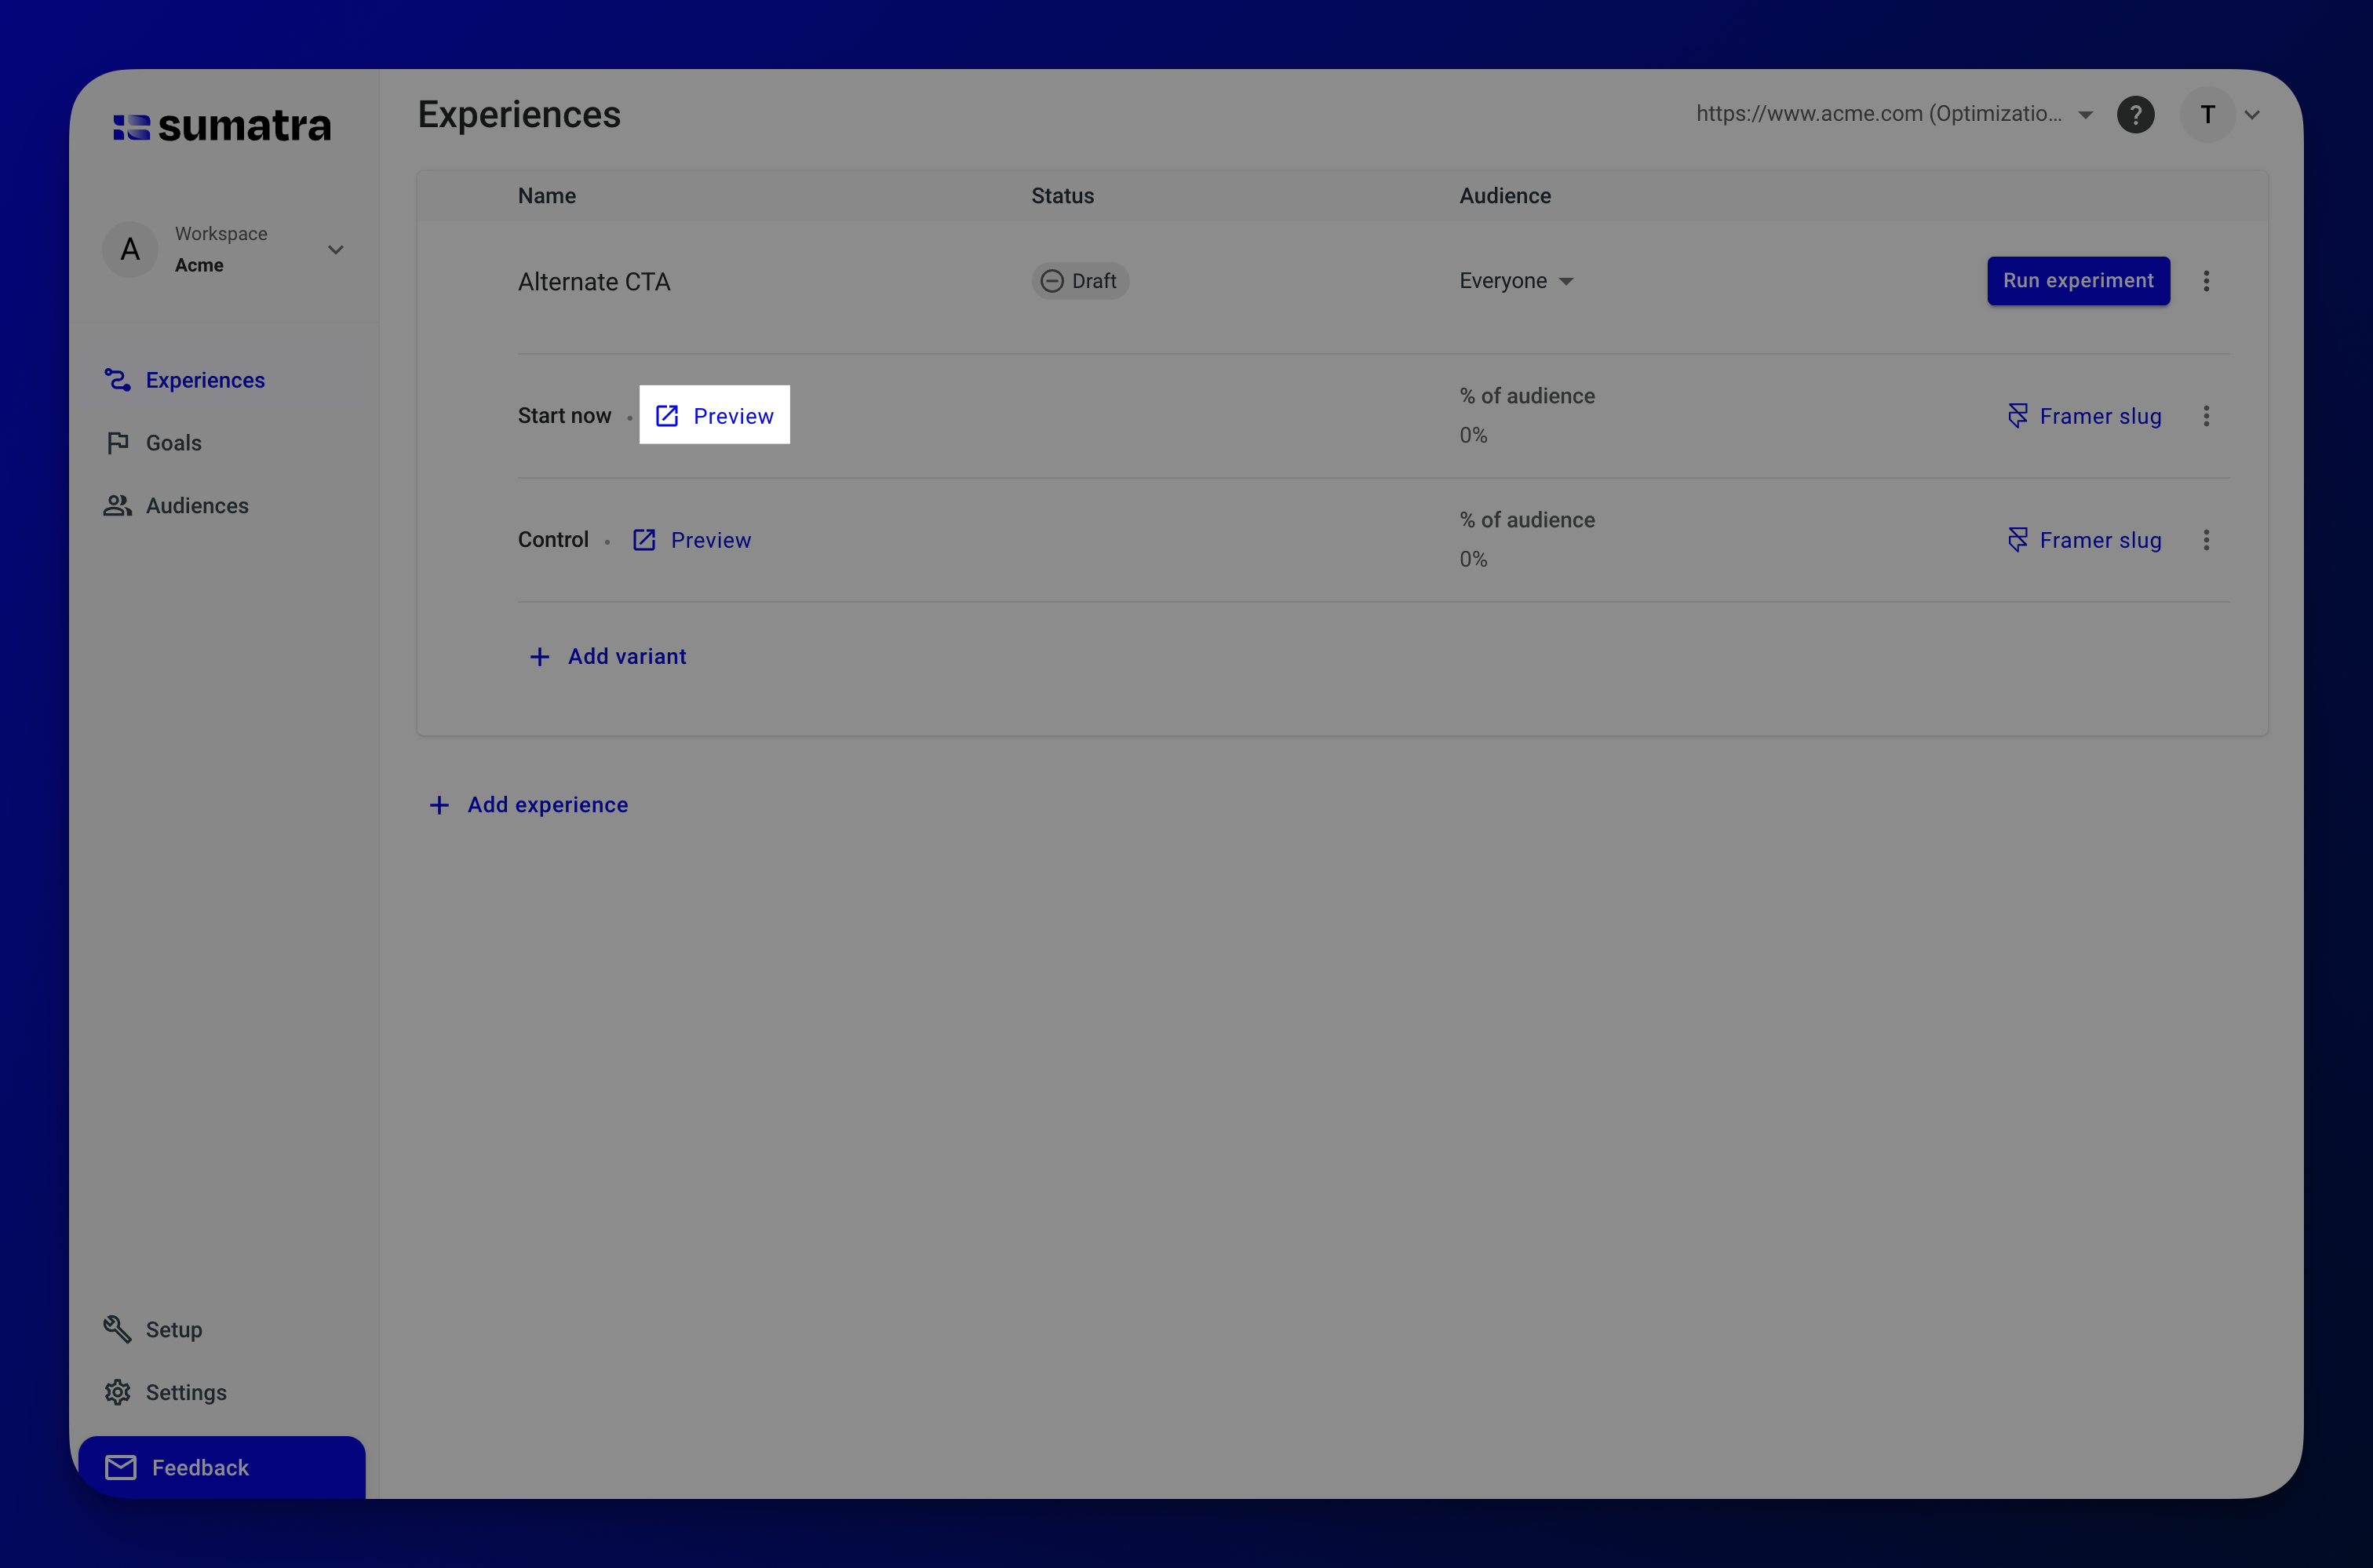
When prompted, name your new experience "Alternate CTA", and name the variant "Start Now". Then select + Add variant and name it "Control".
This is what the resulting Experiences view should look like:
5. Implement your variant
- Framer
- Other Website
Follow the Framer experience instructions to create a variant of your button and change the text to "Start Now".
Follow the Visual Editor instructions to create a Swap text override on a button and change the text to "Start Now".
6. Preview the variant
Now for the best part.
Click the Preview link next to your variant to see it live on your site. 🤯 🚀 🎉
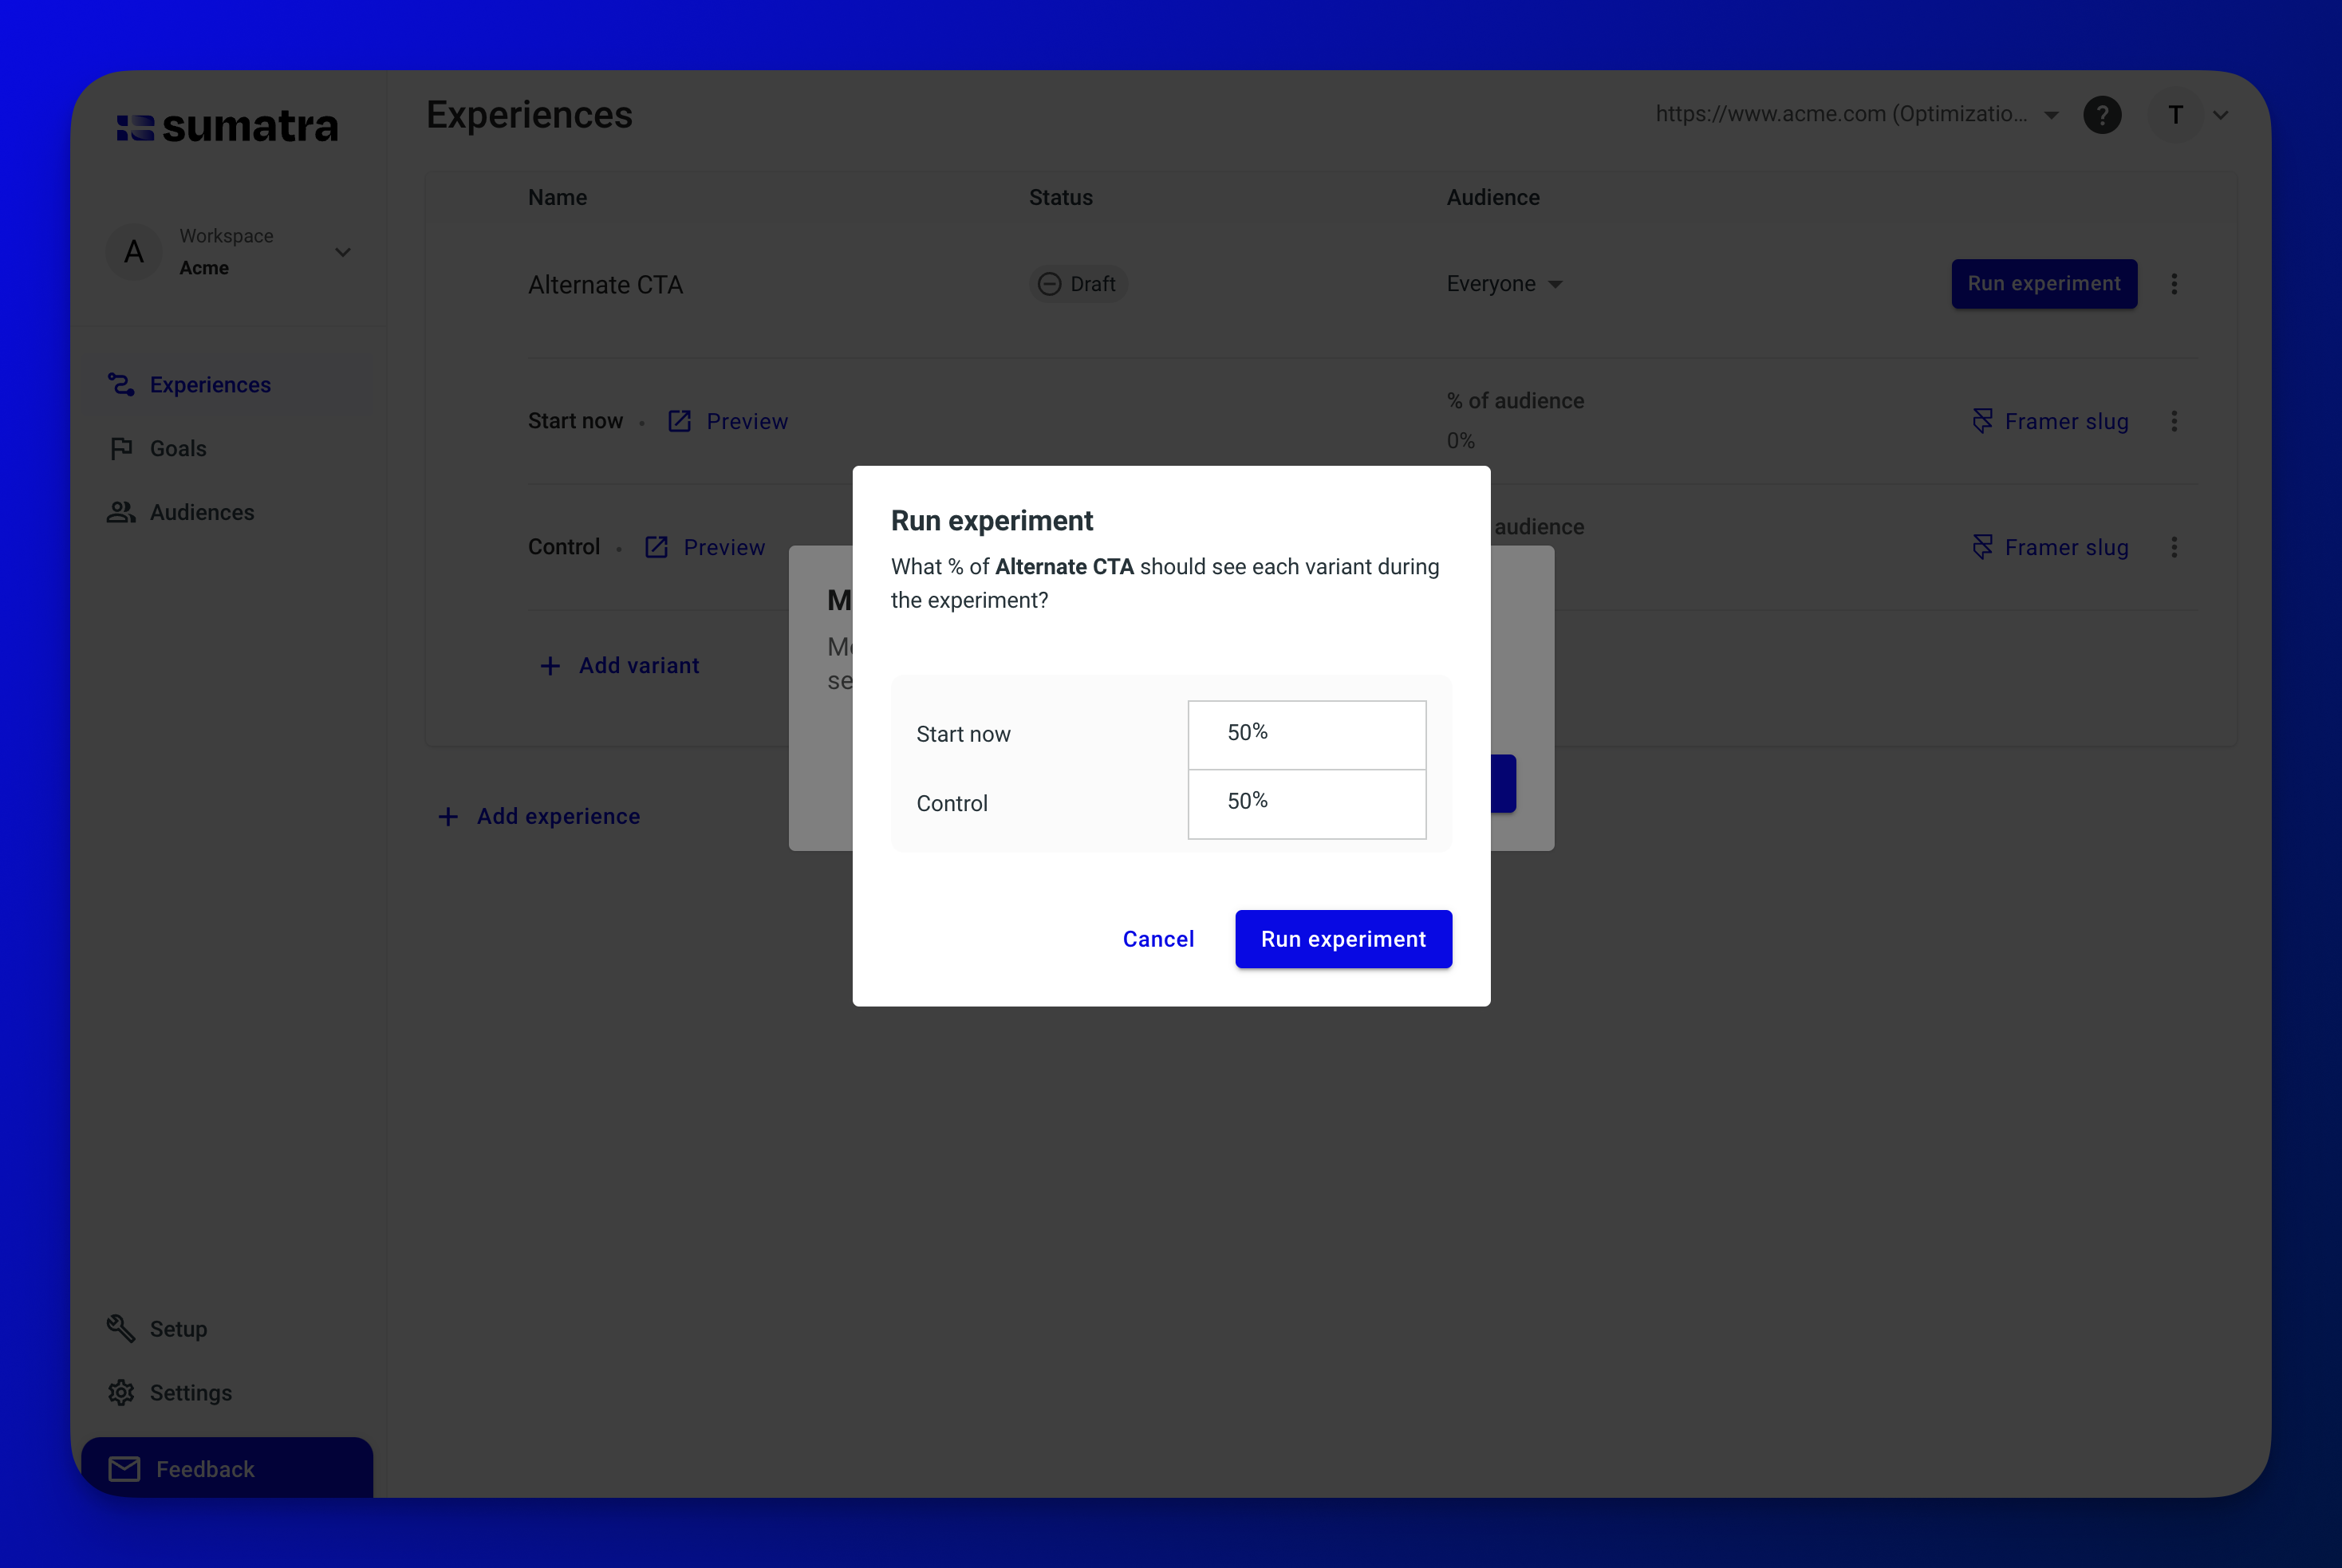
7. Run your experiment
Click Run experiment, select Continue without goals for now, and then click Run experiment again to use the default 50/50 split.
Next steps
From here, you can:
- Configure Goals to measure conversion
- Explore Audiences to target specific user segments
- Start testing some real Experiences to drive conversion